Blog Image Optimisation Experiments.
A short summary of trying image optimisation with ImageOptim and Apple Shortcuts.
The Problem
This site is currently hosted with GitHub Pages and all the data is served from a repository on GitHub. There are limits to the size of the repository and how much data is served monthly, so I wanted to come up with a process to reduce the size of uploaded images before it becomes a problem. The ideal solution should:
- be a fast and easy process,
- resize the images to a smaller, consistent size across the site, and
- clear metadata for privacy and image size purposes.
Since I mostly write the posts from a MacBook that I have used for uni, the two tools I came up with were ImageOptim and Apple Shortcuts.
The Process
For the first two criteria, I decided just to create a Quick Action shortcut that I could call from the context / “right-click” menu. The Shortcut would then resize the image to a maximum dimension of 1024 pixels, add a watermark, and save the processed image.1
For the third criterion, I wanted to test if using ImageOptim makes a difference compared to just telling the Shortcut to remove metadata.2
The Statistics
Finally, it was down to comparing the image sizes:3
| Image | ImageOptim? | Resizing? | SC Metadata removal? | Size (bytes) | % of orig. |
|---|---|---|---|---|---|
| Original | no | no | no | 1 909 260 | 100 % |
| Original + Resize | yes | yes | no | 229 901 | 12,0 % |
| Original + Resize + MD | yes | yes | yes | 228 143 | 11,9 % |
| ImageOptim | yes | no | no | 1 756 794 | 92,0 % |
| ImageOptim + Resize | yes | yes | no | 217 962 | 11,4 % |
| ImageOptim + Resize + MD | yes | yes | yes | 228 143 | 11,9 % |
The Conclusion
Here is the final ImageOptim optimised and resized test image, an old holiday photo from Stöðvarfjörður, Iceland (June 2015, shot on iPhone 6 Plus). 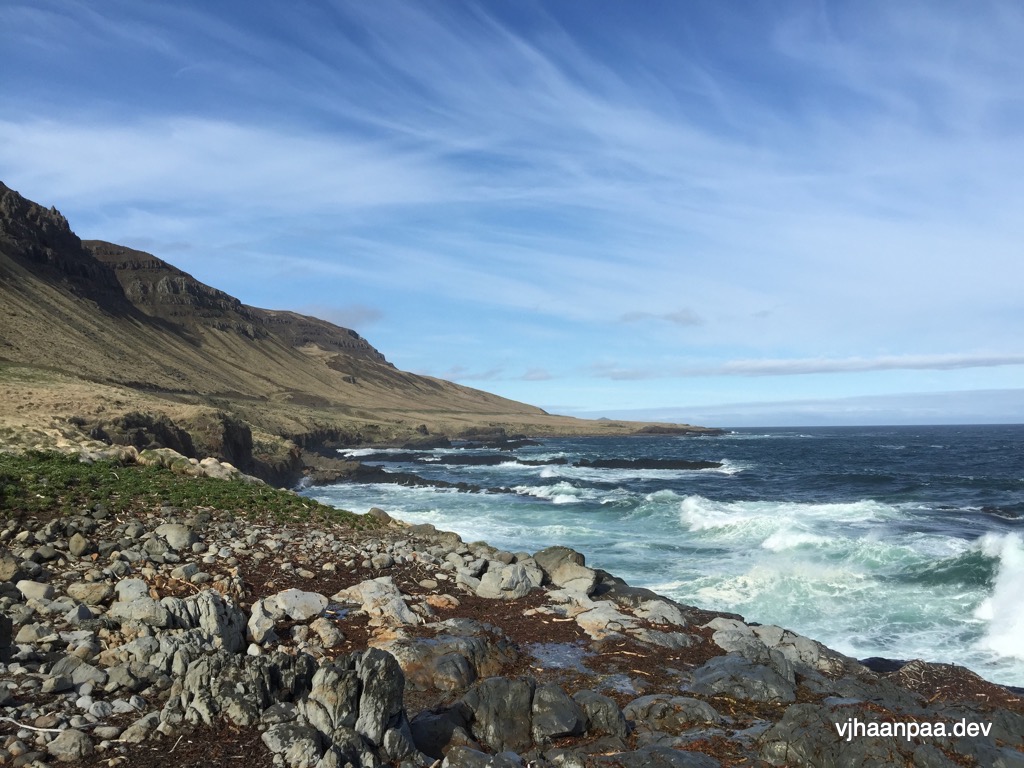
So all in all, resizing the image down to 1024 pixels or less by maximum image dimension cuts the image size in this test case by roughly 88 %. Resizing the ImageOptim optimised image would be the best way to save space, since it looks like Shortcuts maybe writes some default values when removing the metadata.
Either way, there is a considerable data saving to be had here, so I will start resizing images down to the chosen size unless the results start to look horrific. The original idea behind the blog was to keep it as minimal as (conveniently) possible to have pages load as fast as possible, so this naturally helps with that aim.
Sidenote On the Status of the Site
The current plan is to actually start writing more about various things here. I have a lot of small projects that I would like document somewhere and I have some journal-type topics to put in writing instead of storing them in my memory.
With the arrival of me and my wife’s firstborn late last year, things have been slighlty more chaotic than usual, but that has highlighted the need to start documenting life and hobbies more. That is also one of the reasons why image processing is something that I had to figure out for the (hopefully near) future.